Since Speak Freely can be overwhelming for the first time user, this Quick Start Guide will guide you through setting up Speak Freely and making your first Internet telephone call in a few steps!
Download the file at: http://prdownloads.sourceforge.net/speak-freely/speakfb-7.6a.zip?download
Note
If you do not have an unzip program installed, install http://www.7-zip.org/ or winzip and come back to this point again.
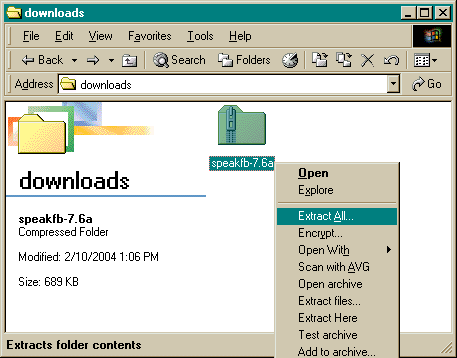
Extract the zip file
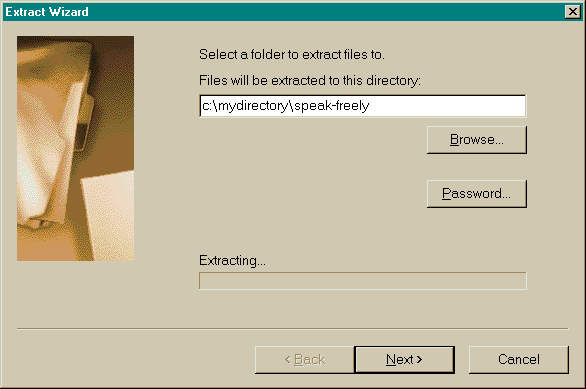
Choose the destination directory/folder
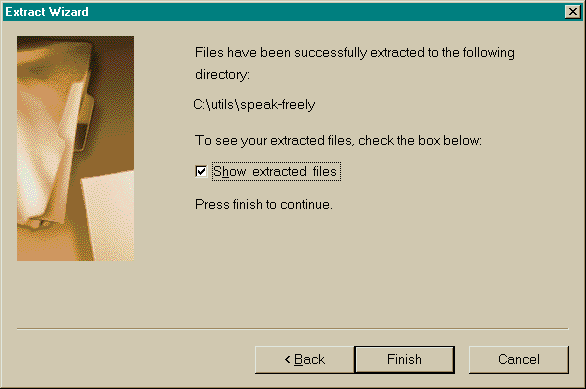
Show your extracted files
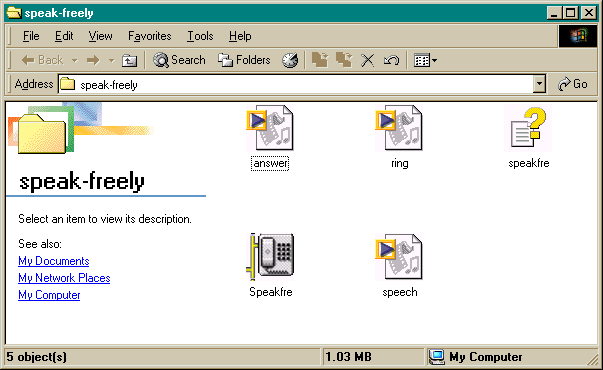
Showing the extracted files
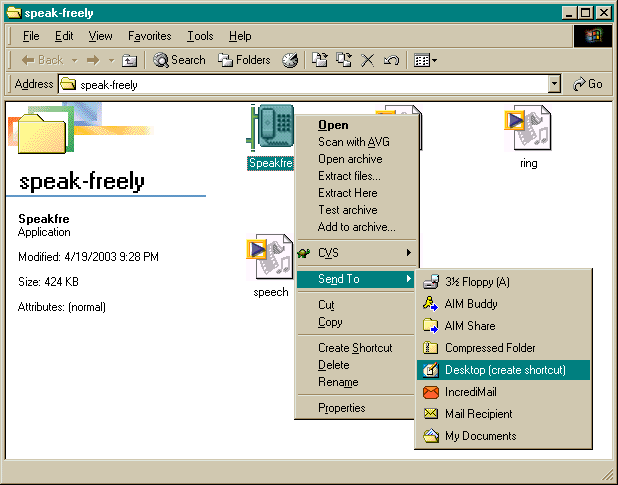
Send a shortcut to the desktop
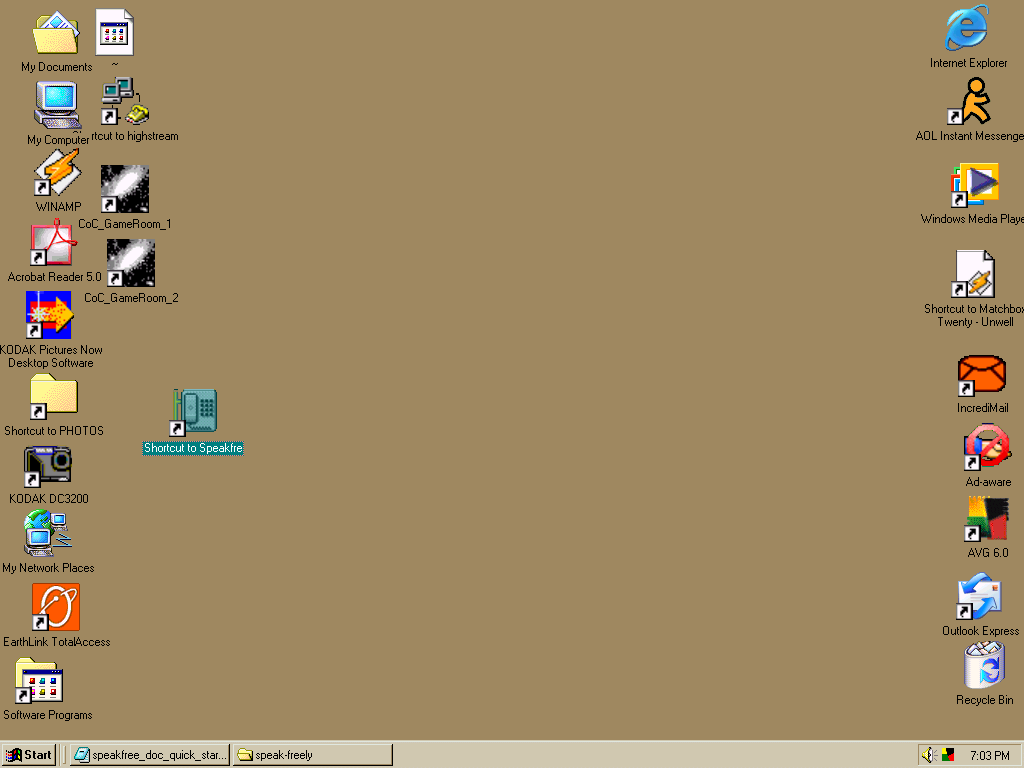
Speak-Freely on your Desktop
When is the last time you used your microphone? It's a good idea to test to make sure that it works.
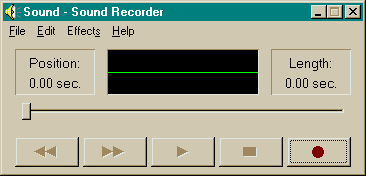
->->->-> The quickest and easiest way to test your microphone.
Only if you still have problems with your microphone, try the following measures, in order from a through d.
Check the cable. Is the microphone plugged into the right place? Usually it has a red color indicator and small picture of a microphone to connect to the soundcard in the back of your computer.
What is your IP Address? This is the basic network address of your computer. This may change each time you connect your computer to the internet.
In Speak-Freely, choose -> . This will display your current network IP address.
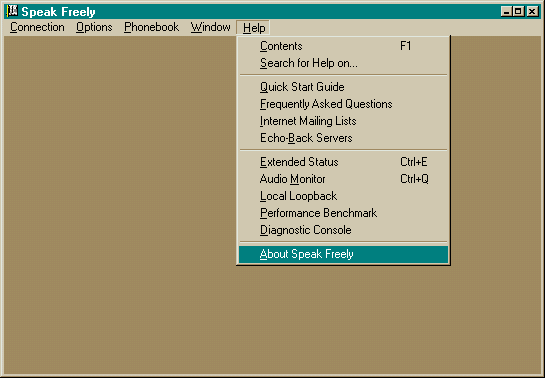
Speak-Freely Help/About Menu
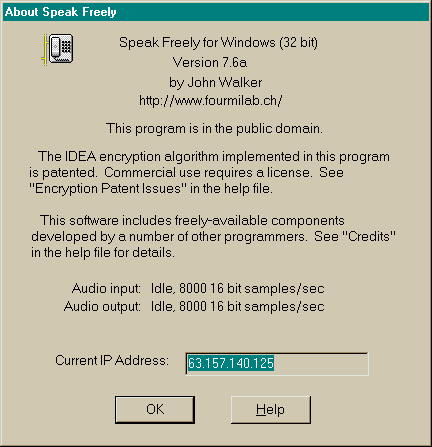
Speak-Freely Help/About screen, showing your current IP address
Tip
Highlight your IP address, right mouse click, and select Copy. You will need it for later. :)
Warning
The Internet Assigned Numbers Authority (IANA) has
        reserved the following three blocks of the IP address space
        for private internets: 10.0.0.0 - 10.255.255.255 (10/8
        prefix) 172.16.0.0 - 172.31.255.255 (172.16/12 prefix)
        192.168.0.0 - 192.168.255.255 (192.168/16 prefix)
If your IP address begins with: 10. , 172.16 through 172.31, 192.168, or 127.0.0.1, then this is not a real public internet IP address. It is useless to share this information to another person. You must ask the other person for his/her IP address and initiate the connection to them. If they don't have a real IP address either, then you cannot use speak-freely to contact each other directly. (Unless you are both within the same internal corporate network) See: NAT & Private IP Address Ranges Also: RFC 1918 - Address Allocation for Private Internets
Under the Connection menu, choose New...:
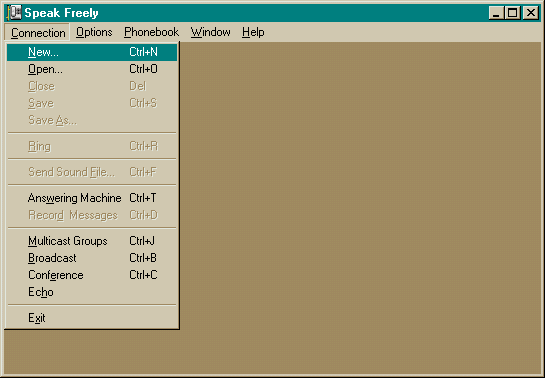
Speak-Freely Connection/New Menu

Speak-Freely new connection prompt
Paste or type your IP address in the connection box and click OK.

Speak-Freely new connection with IP address
You will see a new connection window appear. Move your mouse pointer over the connection window, and it will turn into a telephone . This is Speak Freely's indication that it is not sending any audio right now.

Speak-Freely connection prior to audio transmit
Important!
Now, to start sending audio, press the SPACE BAR key.

Speak-Freely connection while transmitting audio
When you see the icon of a telephone change into an ear , you can speak into the microphone. If all is working properly, you will hear your voice echoed back to you. If you do not hear anything at all, your microphone's record volume or speaker output volume is probably set too low or muted. You may also need to adjust your headphone or speaker volume.
Warning
When using headphones, please be careful about turning your volume too high. You may get a sudden burst of loud noise direct to your ears. Be safe and adjust with lower settings. Feedback from your microphone too close to your headphones or speakers may create a sudden burst of noise directly to your ears.
See the Frequently Asked Questions section if you have other problems.
Close the connection to yourself by clicking the X in the upper right corner of the connection window, or choose the Connection menu and select Close.
You need a real public IP address to initiate a connection to. The person with the valid IP address must let the other person initiate the call (open a connection).
Use the following services to notify the person you wish to speak to: Jabber , ICQ, Yahoo Messenger, or MSN Messenger. It does not matter which service you use, as long as you can contact the user you want to talk to. Personally, I prefer Jabber , which is decentralized and allows IM function between any other existing instant messaging solutions.
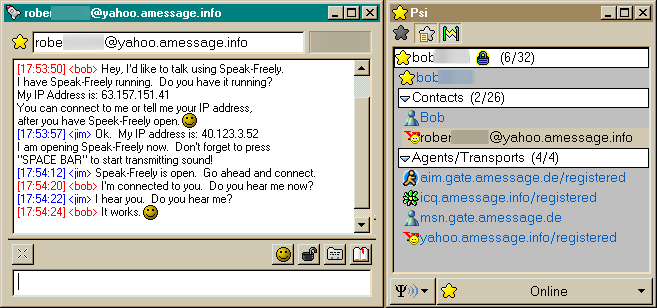
A Jabber client can integrate with ICQ, Yahoo, AIM, and MSN. It is friendly with Microsoft, Linux, Mac, and any other operating system wherever your friends are.
OR: Use global SMS messenging to send your IP address
OR: Put on a pair of sneakers and run to share your IP address with the person you intend to voice chat. In the old days, this is known as the Sneaker Net.
The main way to connect is to choose New... under the Connection menu and type your friend's IP address into the box and click OK. This is why you need prior knowledge of the called party's IP address since most Internet Service Providers assign each user a different IP address each time they connect to the Internet. The other person will need to find out their current IP address ahead of time, which they can do in Speak Freely by choosing the Help menu and selecting About Speak Freely, as shown above.
The second way to make a call is to use ICQ to establish the call. Do this by clicking on the desired person's name in ICQ, point to Internet Telephony/Games, and select Speak Freely. Then, enter a reason for the call, and wait for them to connect.
Once you have established the call, you can talk to the other person the same way you tested with the echo server. Press the space bar to start tramitting sound from your microphone to them.
Warning
If you do not have a full duplex sound card, only one person can talk at a time. A really old Pentium II computer may have a half-duplex sound card installed. This can be determined by choosing the Help menu and selecting "Extended Status". Look for where is says "duplex" for the type you have.
Congratulations! You are now capable of making free long distance calls over the Internet! After you are comfortable with the flow of the conversation, you can experiment with the other options such as Voice Activation. Generally, the best way to make a call function just like a regular telephone is to use Voice Activation on a full duplex call. To go into full duplex mode, both parties double click their mice in the connection window to force constant transmission with the ear icon showing. See the Voice Activation section for help in setting the optimal volume level. As with the echo server, when you are ready to end the call, just click the X in the connection window to disconnect. Have fun!
Note
For dialup users, be aware that if you browse the web while voice chatting in speak-freely, both the web and speak-freely will slow and not function 100%. It will probably work 50% or less. :)
Table 1. Compression Options
| Compression option | Bits per second | Bytes per second | Need fast CPU? | Sound fidelity |
|---|---|---|---|---|
| Best | LPC-10/CELP | LPC-10/CELP | GSM | GSM/CELP |
| LPC-10 | 3460 | 346 | Pentium I | Ok (shortwave radio) |
| CELP or Speex | 6000 | 600 | Pentium II 400mhz | Good |
| LPC | 6500 | 650 | Pentium I | Depends. Bad for squeaky voices |
| GSM | 16500 | 1650 | Pentium I | Good |
Once you have started Speak Freely, click on the Options menu as shown below:

Speak-Freely Options Menu
Make sure that only GSM Compression or CELP is checked. If anything else on the Options menu is checked, uncheck it. Then, choose Voice Activation from the Options menu and make sure it is set to None. Jitter Compensation should be set to 1/4 Second, in case the network is slow. Finally, verify Transmission Protocol is set to Speak Freely and Robust Transmission to Normal.